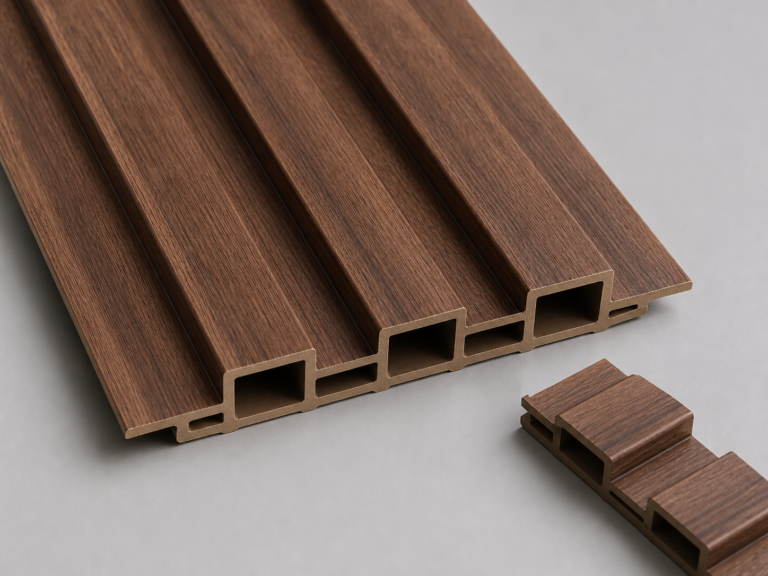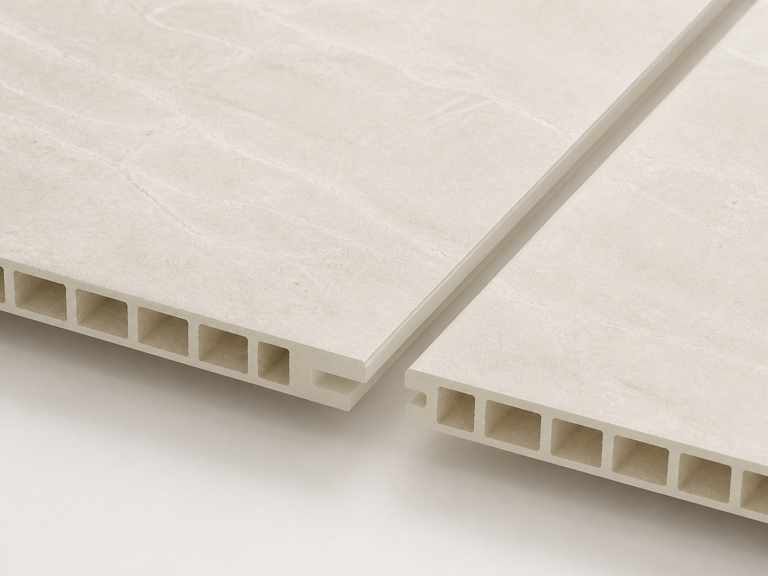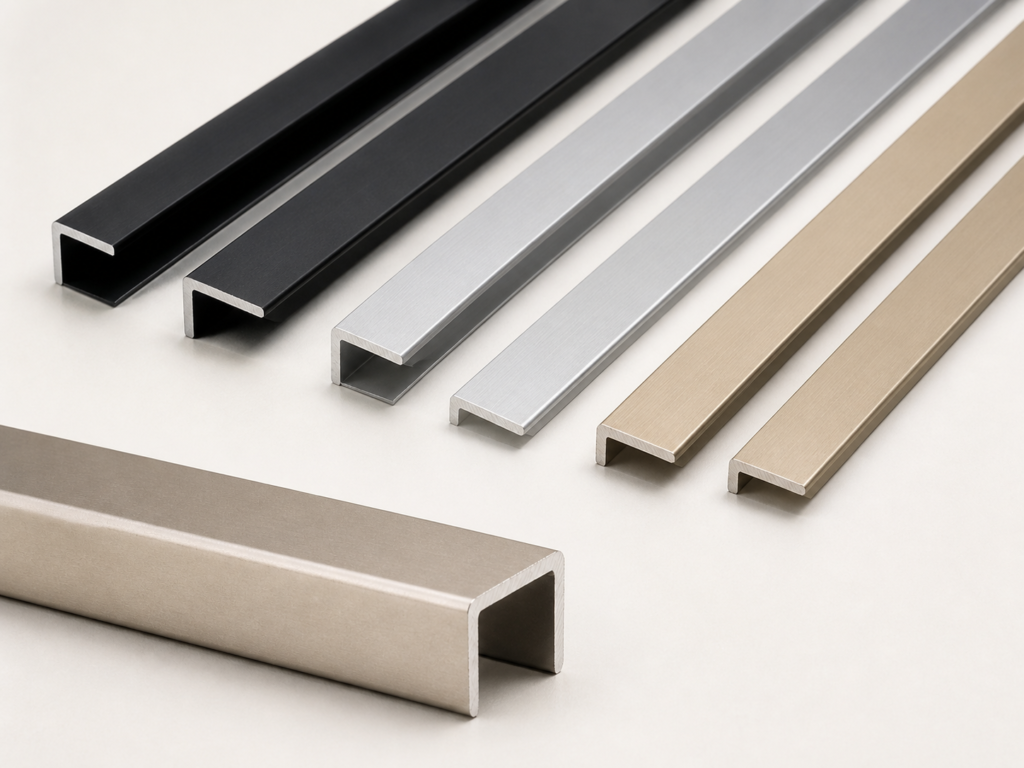
Trims are part of the wall-panel system, not a last-minute accessory. They affect starting details, joints, corners, exposed edges, transitions, installation sequence and the final quantity.
Match the trim to the detail
| Detail | Typical trim function | Information needed |
|---|---|---|
| Exposed panel edge | L, U, J or end/edge profile | Panel thickness, exposed face, finish, fixing and length |
| Panel-to-panel transition | T or joining profile | Panel thickness, gap/slot, face width and finish |
| Internal corner | Inside-corner profile or approved site detail | Corner angle, panel orientation and installation sequence |
| External corner | Outside-corner protective/decorative profile | Face dimensions, impact exposure and finish match |
| Start / finish line | Starting, capping or perimeter profile | Datum, panel joint direction and exposed condition |
Build a trim schedule
- Mark every perimeter, opening, internal corner, external corner and material transition on the elevation.
- Assign a detail code and compatible trim form.
- Measure linear length by trim type, not as one combined total.
- Add cutting waste and spare lengths based on stock length and corner layout.
- Confirm alloy/material, color, gloss, face width, slot width and installation method.
The current 8 mm L and T trim records indicate nominal panel compatibility only. They do not yet provide a verified cross-section, face dimension, slot width or standard length.
Questions for the supplier
- Is the trim made for the exact panel thickness and joint?
- Does the finish match the approved panel sample?
- What is the standard length and package quantity?
- Is it installed before, during or after the panel?
- Are corners cut, mitred or connected with a separate piece?
See the current trim cards within the 8 mm integrated panel system and request the preliminary profile reference sheet from its documents section.